Celebrating the birthday of an 80s child with an 80s themed Pacman birthday card. Wacka, Wacka!


Celebrating the birthday of an 80s child with an 80s themed Pacman birthday card. Wacka, Wacka!
I know it’s February already but I still would like to share a couple of things with you that I made right before Christmas. As they say, after Christmas is before Christmas, right ;)?
Here are a couple of German Weckmaenner that I baked. It was my first time and a lot of fun. Especially the shaping part. If you are interested in the recipe, let me know and I will share that with you as well.

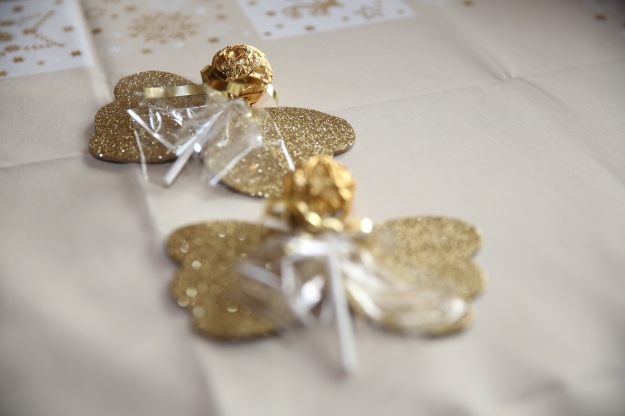
Next is a Pinterest inspired project. For a family get together back in December I made these Ferrero Rocher angels. Enjoy and thanks for visiting!
A Peppa Pig Birthday Card for the biggest little fan, our niece. Enjoy and let me know if you have any questions on how I made the card.

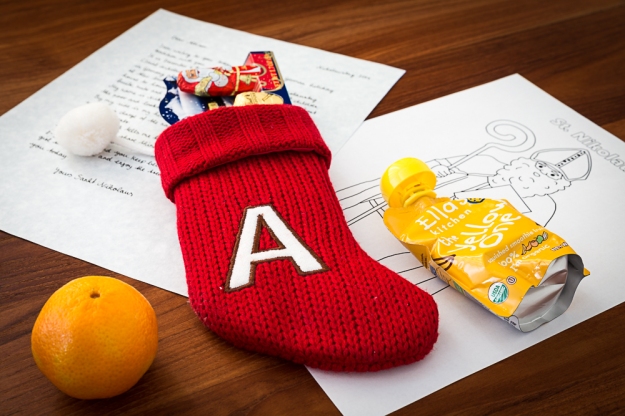
This December 6th I wanted to share the German holiday tradition of Sankt Nikolaus with my 2-year-old niece. I surprised her with a stocking filled with small treats and a letter from Nikolaus. Handwritten by Nikolaus himself, the letter explains the story behind Sankt Nikolaus Day:
Dear A.
I am writing to you today to share an old German holiday tradition with you.
It is December 6th and that means it is Sankt Nikolaustag (Saint Nikolaus Day). On the evening of December 5th children in Germany place their polished shoes and stockings in front of their bedroom doors. While they are sleeping, I travel from house to house and fill them with small treats such as fruits, nuts and chocolates.
My name is Nikolaus and I am a bishop who gives to the poor and looks out for the innocent and children. By my side is my helper Knecht Ruprecht (Servant Rupert) who is in charge of the naughty children and leaves twigs instead of treats.
My golden book tells me that you have been good all year. You like to share things with others and give the best hugs. With your infectious smile you bring great joy to those around you. Keep being the cheerful little girl that you are and enjoy the treats that I brought you today.
Yours Sankt Nikolaus
Are you celebrating Sankt Nikolaus Day and what other traditions do you have during the time leading up to Christmas?
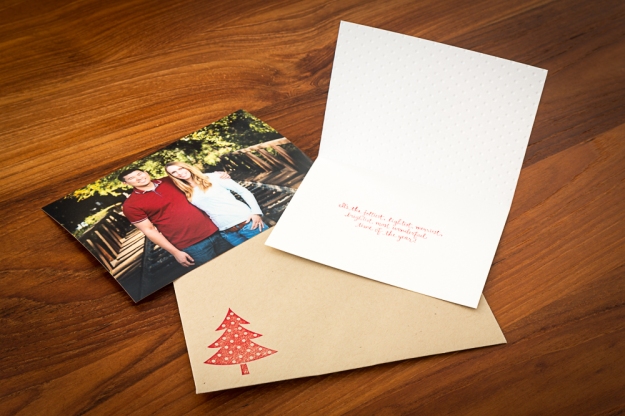
December is here and that means it’s time to mail out our Christmas cards. This year I went with a minimalistic nordic design and color scheme. I chose the tree from Stampin’ Up’s framelits Holiday Collection as my main element and cut it out of red felt. For even more texture I embossed the card’s white background using the Swiss Dots Cuttlebug embossing folder. The inside features a sentiment from Stampin’ Up’s “Jolliest Time of the Year“. I absolutely love the handwritten look of the font. To kick things up a notch, I dressed up the envelope by stamping the tree from “Scentsational Season“ onto the front. View more cards featuring the same tree here, here and here. As always thanks for looking and happy crafting!

Now that it’s May already, it’s time to get crafty for Mother’s Day. For the card below, I wrote my own dictionary like definition of “Mama” and printed it on Kraft cardstock. My text is in German but you can find the English translation at the end of this post. The two butterflies representing mother and child were created with the medium 3 in 1 Martha Stewart butterfly punch. Thanks for stopping by and taking a look at my card.
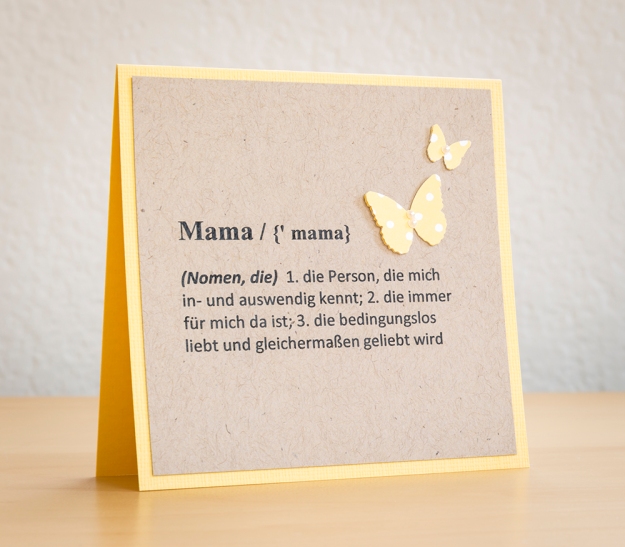
Mom / {ˈmäm, ˈməm}
(noun, feminine) 1. the person who knows me inside out; 2. who is always there for me; 3. who loves unconditionally and is equally loved
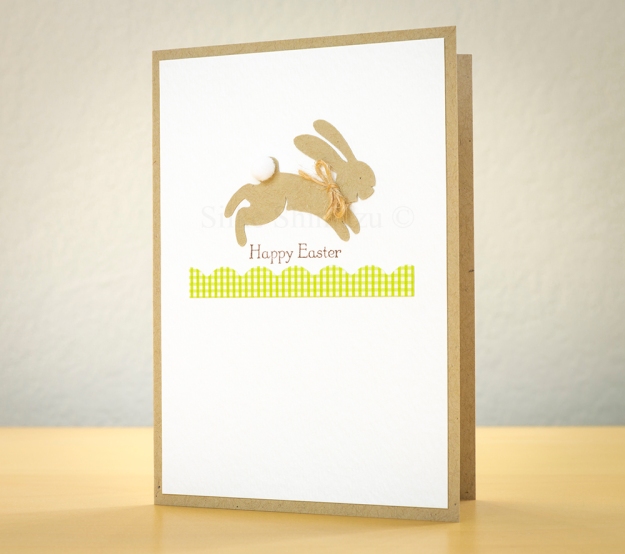
For this year’s Easter card design I went with the jackrabbit from the Zooballoo Cricut cartridge. To add interest and texture, I used a small pom pom for his tail and tied a twine bow around his neck. As far as the title goes, it’s from the Stampin’ Up set “Teeny Tiny Wishes” which over time has become my number one go to set for titles. The card’s color scheme is very similar to that of last year’s card. If you are interested, you can find it here. Thanks for visiting!
It’s hard to believe that today is the last day of the year. It doesn’t seem that long ago that I shared my 2012 favorites with you. Thank you for spending another crafty year with me! The creative highlight of 2013 was being a guest designer and contributor for Penny Black. Having always admired the work of their designers, it was a great honor to be a part of their team. I hope you enjoy my selection of cards from the past 12 months. Here’s to a wonderful and creative 2014!
December Birthday Suspension Card


Penny Black Guest Designer Day 1

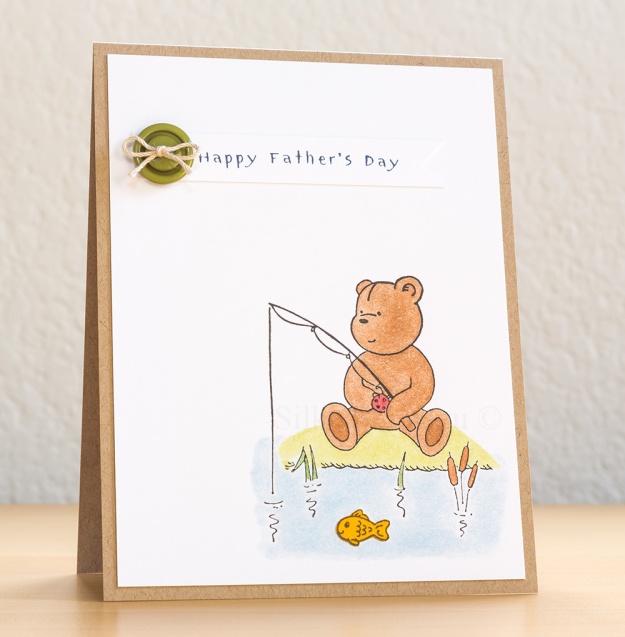
Gone Fishing Father’s Day Card
Just a quick post on this Sunday: a gingerbread man suspension card. If you have a question on how I made this card, please leave me a comment and I will answer it here on my blog.
